
Wishlist Page
Note: The Wishlist Page is a theme block, not an app embed. You add it from the Apps section of the theme editor sidebar, not from the app embeds panel.
Setup
- Stashlist automatically creates the
/pages/wishlistpage during onboarding. If it's missing, go to Online Store → Pages in your Shopify admin and create a page with the handle set towishlist. - Open the theme editor (Online Store → Themes → Customize) and navigate to Pages → Wishlist using the page selector at the top.
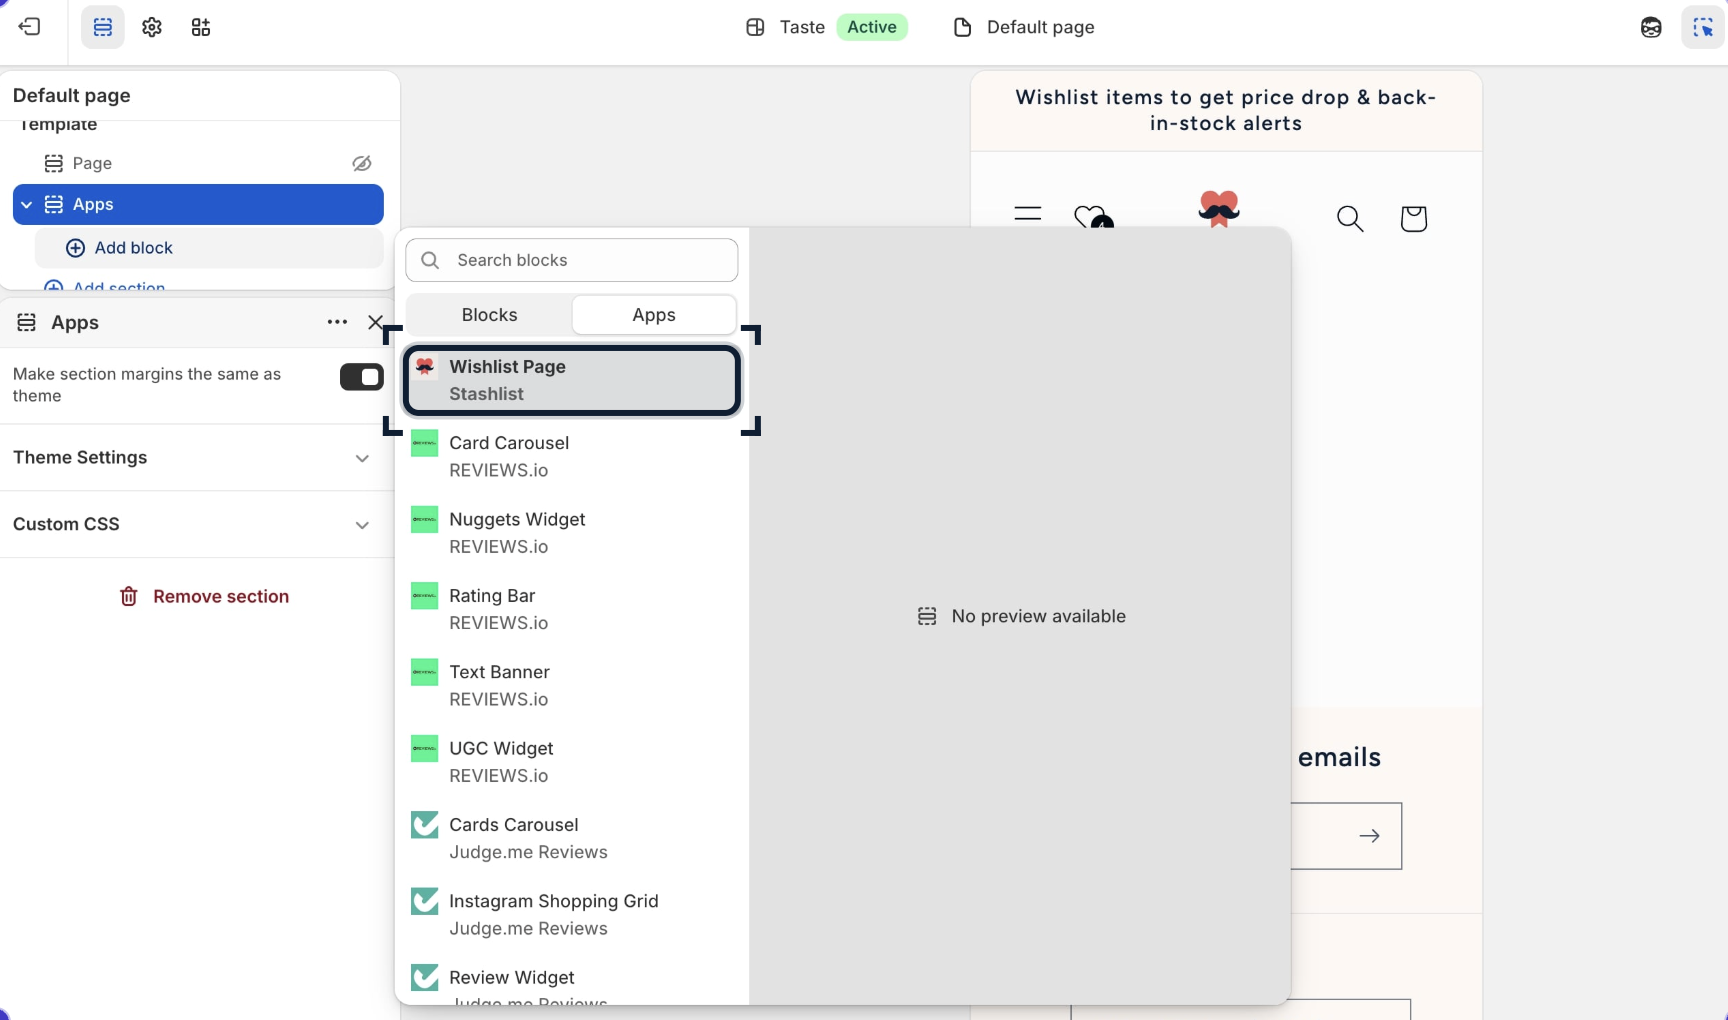
- In the left sidebar, click Add block (under the Apps section) and select Wishlist Page. Click Save.
- Add a link to
/pages/wishlistin your store navigation via Online Store → Navigation so customers can find it.
Layout options
The wishlist page block includes a Card Layout editor that lets you control exactly what appears on each product card and in what order. Drag fields to reorder them. Available fields include:
| Field | Description |
|---|---|
| Product image | The main product thumbnail. Clicking it opens the product page. |
| Product title | The product name, linked to the product page. |
| Price | Current price, including sale price if applicable. |
| Variant selector | A dropdown letting customers switch variants before adding to cart. |
| Quantity selector | A stepper for selecting how many units to add to cart. |
| Product metafields | Any metafields configured in Settings. See Product Metafields. |
Card actions
Each card on the wishlist page includes a set of actions customers can take on a saved item.
| Action | Description |
|---|---|
| Add to cart | Adds the product (with selected variant and quantity) to the cart. Fires window.stashlistOnCartAdd(result): configure in Cart Integration. |
| Remove | Removes the item from the wishlist. The page updates immediately without a reload. |
| View product | Links to the product page. Available on the product image and title. |
Share wishlist
Customers can share their wishlist with a unique link. The share button generates a URL that anyone can open to view a read-only version of the wishlist, useful for gift registries and birthday lists.
Guest wishlists can also be shared, though the recipient sees a snapshot rather than a live synced list.
Multiple lists
When multiple lists are enabled in your Stashlist settings, customers can create and name separate wishlists (e.g. "Birthday", "Wedding registry"). The wishlist page shows a list switcher at the top so customers can navigate between them. Each list is independently shareable.
Guest wishlist behaviour
Guest wishlists are saved in the browser's local storage. When a guest logs in or creates an account, their saved items are automatically merged into their account wishlist, so nothing is lost.
You can configure whether guests are allowed to use the wishlist at all, or whether login is required, in the Stashlist Settings embed under Guest access.
Empty state
When a customer visits the wishlist page with nothing saved, an empty state message is shown. The copy and call-to-action link are configurable in the block settings in the theme editor.
Customer account portal
Stashlist can also embed a wishlist inside Shopify's customer account portal (new customer accounts only), so logged-in customers see their wishlist under their account without visiting /pages/wishlist. See Customer Account Wishlist for setup steps.